Using BioAmp Bands#
Overview#
BioAmp Bands are dry electrode-based stretchable bands that allows you to record biopotential signals from your body be it from brain (EEG), muscles (EMG) or heart (ECG). These bands can only be used with our BioAmp Hardware by making the connections using BioAmp Cable.
Why use BioAmp Bands?#
Usually, people use gel electrodes to record biopotential signals from the skin surface. But, it has its own disadvantages. So we came up with these BioAmp Bands using which users can enjoy a more comfortable, cost-effective, and hassle-free experience while recording biopotential signals.
Comfort: BioAmp Bands are generally more comfortable to wear than gel electrodes, especially for long-term recordings. They conform to the body’s shape and avoid the sticky, sometimes irritating sensation of gel electrodes.
Reusability: Unlike gel electrodes, which are often single-use and need to be replaced frequently, BioAmp Bands can be reused multiple times. This makes them more cost-effective and environmentally friendly.
Ease of Use: These bands are easy to wear and adjust, reducing the hassle of setup and ensuring consistent placement.
Hygiene: They can be easily cleaned and sanitized between uses, reducing the risk of skin irritation and infections. Gel electrodes, on the other hand, can leave residue on the skin surface.
Performance: The bands can provide stable and reliable signal recordings depending on your environment conditions. For hot/humid conditions, the bands usually perform better while recording the signals. But if the weather is cold causing dry skin, then it is recommended to prepare the skin properly and apply electrode gel between the metallic part of cable and skin surface. If you feel that the skin impedence is increasing, then reapply electrode gel frequently. The other option is to use gel electrodes after preparing the skin properly.
Types of BioAmp Bands#
There are 3 types of BioAmp Bands and all these bands offer targeted and efficient solutions for recording biopotential signals from the muscles, heart, and brain, making them versatile tools for a wide range of HCI/BCI applications.
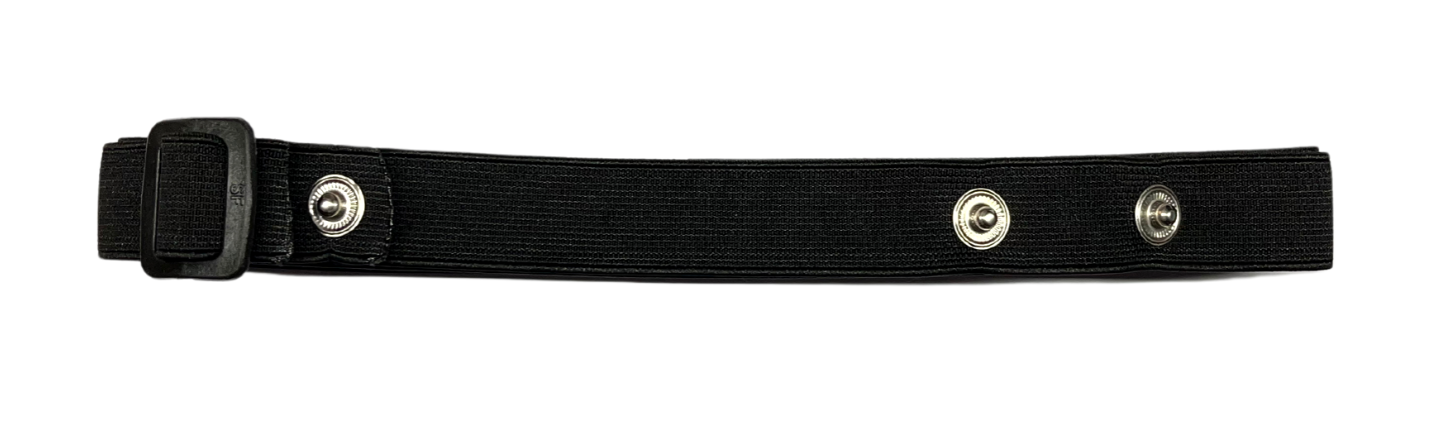
1. Muscle BioAmp Band#
Muscle BioAmp Band (EMG Band) is a stretchable band that can be connected to any of our Muscle BioAmp Hardware or any EXG sensor using a BioAmp Cable. It allows you to record your muscle signals hassle-free.
Length |
13 inches |
Stretchability |
2X (Upto 26 inches) |
Usability |
Reusable as it comes with washable fabric |
Interface |
Snap electrodes |
Compatible Hardware |
Muscle BioAmp Hardware or any EXG sensor |
BioPotentials |
EMG |
No. of channels |
1 |
Wearable |
Yes |
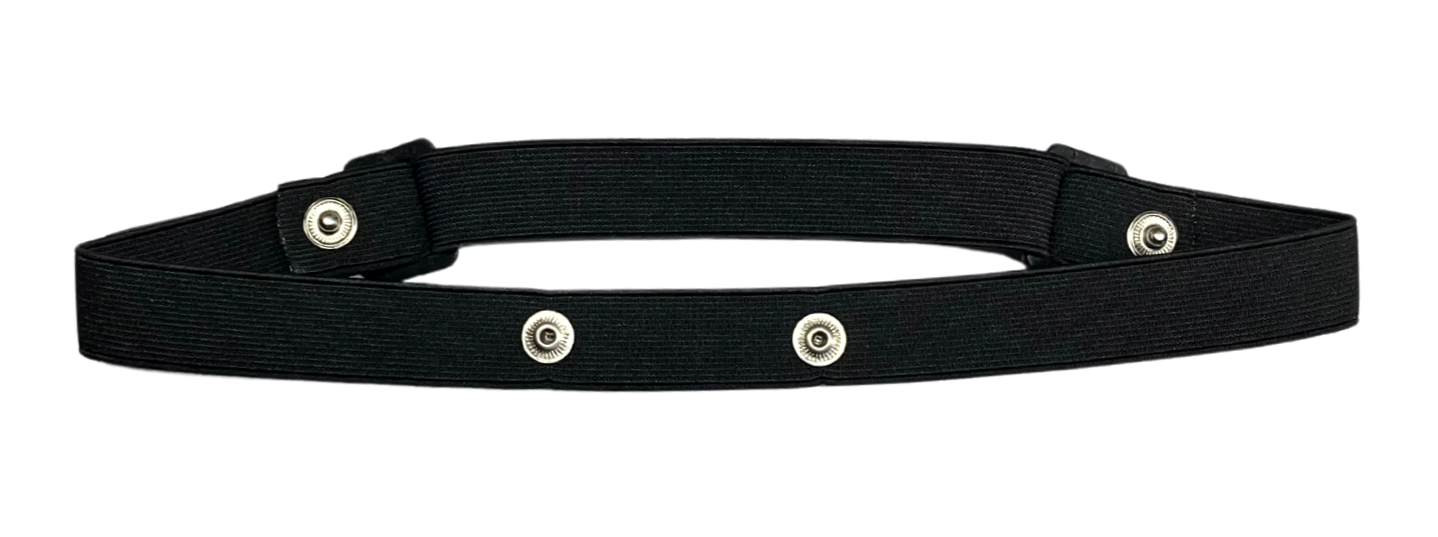
2. Heart BioAmp Band#
Heart BioAmp Band (ECG Band) is a stretchable band that can be connected to any of our Heart BioAmp Hardware or any EXG sensor using BioAmp Cable. It allows you to record your ECG signals hassle-free.
Length |
37 inches |
Stretchability |
2X (Upto 74 inches) |
Usability |
Reusable as it comes with washable fabric |
Interface |
Snap electrodes |
Compatible Hardware |
Heart BioAmp Hardware or any EXG sensor |
BioPotentials |
ECG |
No. of channels |
1 |
Wearable |
Yes |
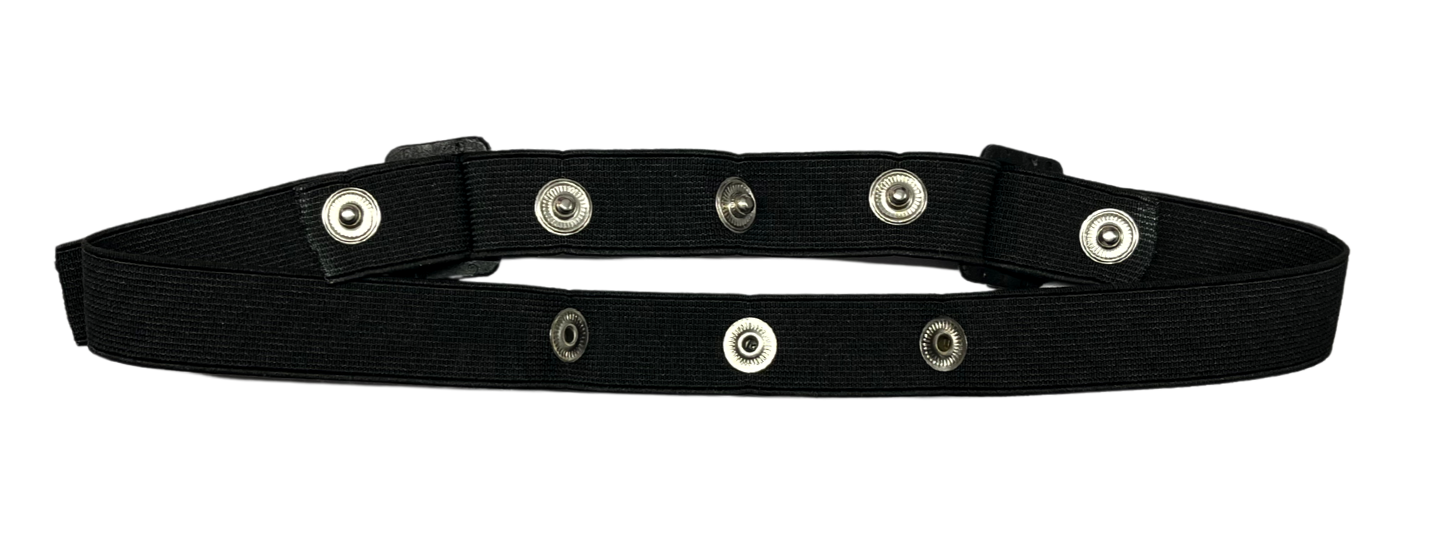
3. Brain BioAmp Band#
Brain BioAmp Band (EEG Band) is a stretchable band that can be connected to any of our Brain BioAmp Hardware or any EXG sensor using BioAmp Cable to record signals from the brain hassle-free.
Length |
15.5 inches |
Stretchability |
2X (Upto 31 inches) |
Usability |
Reusable as it comes with washable fabric |
Interface |
Snap electrodes |
Compatible Hardware |
Brain BioAmp Hardware or any EXG sensor |
BioPotentials |
EEG |
No. of channels |
2 or 6 |
Wearable |
Yes |
You can get either a 2-channel or a 6-channel Brain BioAmp Band according to your project or research requirements:
2-Channel Brain BioAmp Band#
It can be used to record EEG signals up to 2 channels either from the visual cortex (back of your head) or the prefrontal cortex part of brain.
6-Channel Brain BioAmp Band#
It can be used to record EEG signals up to 2 channels either from the visual cortex (back of your head) or the prefrontal cortex part of brain.
Using Muscle BioAmp Band#
Assembly#
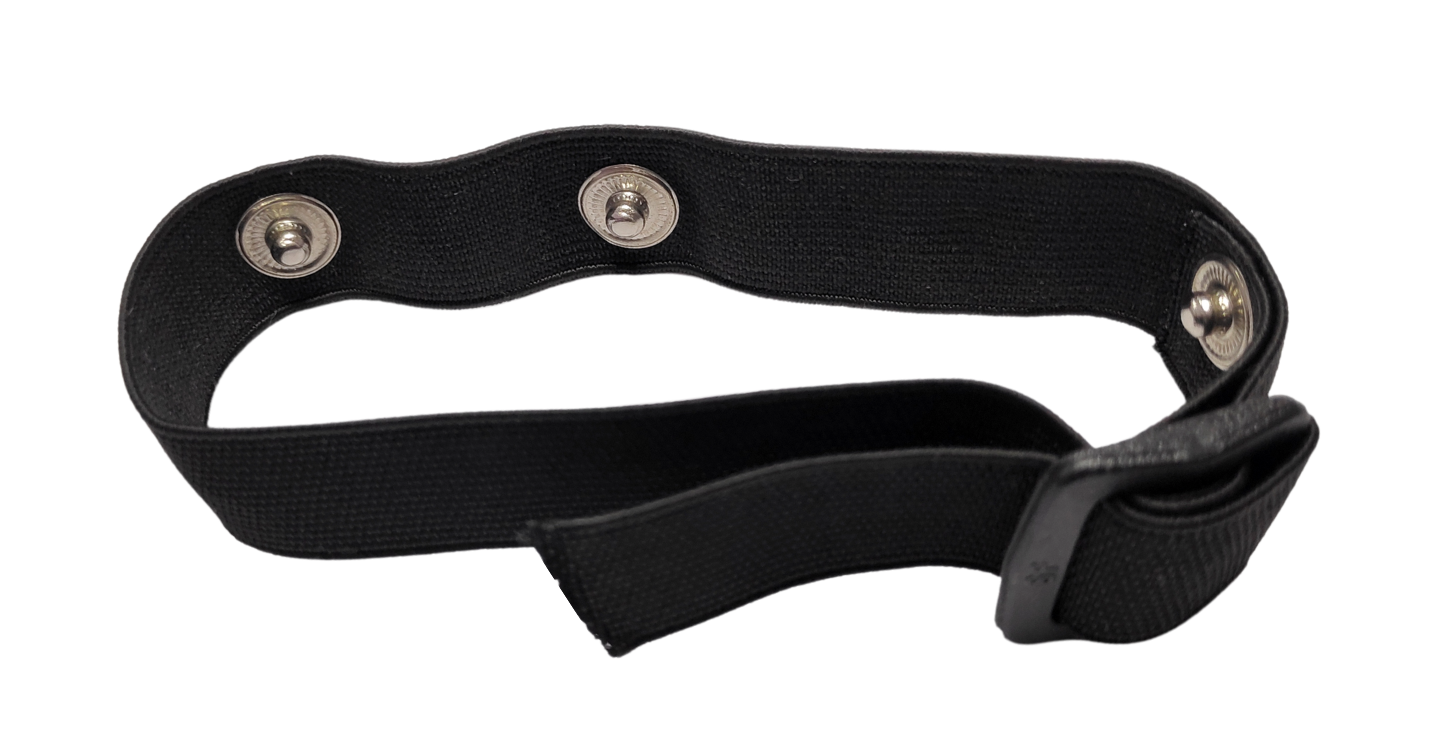
Take your Muscle BioAmp Band, hold the side of the band that has buckle on it and align the top part of the buckle with the flat surface of the snap.
Take the other end of the band and insert it in the buckle.
Your band is now ready to use. You can also adjust the size of the band according to your targeted muscle.
Skin Preparation#
Apply Nuprep Skin Preparation Gel on the skin surface where dry electrodes would be placed to remove dead skin cells and clean the skin from dirt. After rubbing the skin surface thoroughly, clean it with an alcohol wipe or a wet wipe.
For more information, please check out detailed step by step Skin Preparation Guide.
Measure EMG#
Flip the band and snap the dry electrodes of the BioAmp Cable on it as shown below.
Flip the band again and wear it on your arm in such a way that IN+ and IN- are placed on the arm near the ulnar nerve and REF (reference) on the far side of the band.
Note
Make sure the dry electrodes (shiny parts of the BioAmp Cable) are in direct contact with the skin.
Now put a small amount of electrode gel or Ten20 paste between the skin and dry electrodes to get the best signal acquisition.
Note
After using the band, don’t leave the gel residue on the dry electrodes longer than an hour as it may corrode them over a period of time.
Wash the band with liquid soap and rinse it properly after every use. Use it again only when it is completely dry.
Using Heart BioAmp Band#
Skin Preparation#
Apply Nuprep Skin Preparation Gel on your chest where dry electrodes would be placed to remove dead skin cells and clean the skin from dirt. After rubbing the skin surface thoroughly, clean it with an alcohol wipe or a wet wipe.
For more information, please check out detailed step by step Skin Preparation Guide.
Assembly#
Take your Heart BioAmp Band and wrap the band around your chest in such a way that the pointy part of the snap touches your chest and the flat part is on the outer side.
Now insert the loose end of the band into the buckle and tighten it by pulling the strap.
Your band is now ready to use. You can also adjust the size of the band according to your chest size.
Measure ECG#
Snap the IN- cable on the left most side of the band, IN+ cable in the middle, and REF cable on the right side as shown below.
Note
Make sure the dry electrodes (shiny parts of the BioAmp Cable) are in direct contact with the skin.
Now put a small amount of electrode gel or Ten20 paste between the skin and dry electrodes to get the best signal acquisition.
Note
After using the band, don’t leave the gel residue on the dry electrodes longer than an hour as it may corrode them over a period of time.
Wash the band with liquid soap and rinse it properly after every use. Use it again only when it is completely dry.
Using Brain BioAmp Band#
Assembly#
You get the band in two parts - the longer part consists of buckles at both ends and the shorter one has loose ends on both sides.
Hold one end of the longer band and align the top part of the buckle with the flat surface of the snap.
Now take the shorter band and insert it into the buckle of longer band.
Repeat step 1 and 2 for the other buckle on the longer band.
Your band is now ready to use. You can also adjust the size of the band according to your head size.
Skin Preparation#
Apply Nuprep Skin Preparation Gel on your targeted area (visual cortex or prefrontal cortex) where dry electrodes would be placed to remove dead skin cells and clean the skin from dirt. After rubbing the skin surface thoroughly, clean it with an alcohol wipe or a wet wipe.
For more information, please check out detailed step by step Skin Preparation Guide.
Measure 1-channel EEG#
Flip the band, take your BioAmp Cable, and snap the REF cable on a gel electrode. Now snap the IN- and IN+ cable on:
Fp1 and Fp2 positions for recording EEG from prefrontal cortex
O1 and O2 positions for recording EEG from visual cortex
Note
The electrode positions mentioned above are according to International 10-20 sytem for recording EEG.
Flip the band again and wear it in a way so that the dry electrodes (shiny parts of the cable) are in contact with:
skin surface on the forehead (if recording from prefrontal cortex)
scalp surface on the back side of your head (if recording from visual cortex)
Peel of the plastic backing of the gel electrode and place it on the bony part behind your earlobe.
Note
While placing the gel electrodes on the skin, make sure to place the non-sticky tab of the electrode in the direction opposite to your hair growth. This allows you to remove the electrodes easily without pulling off much body hair.
Now put a small amount of electrode gel or Ten20 paste between the skin/scalp and dry electrodes to get the best signal acquisition.